
Part 1: Getting Started with Laravel & OpenAI
In this first installment, you’ll spin up a fresh Laravel project and implement your very first “Hello, World!” OpenAI call. By the end, your app will send a prompt to OpenAI and render the AI’s response in the browser.
You’ll learn how to:
The final solution for this part is available in the ai-agent-tutorial repository on GitHub.
Prepare your environment
Before diving in, you’ll need the basics covered:
Development Environment:
-
PHP, Node, Composer, and Laravel installed
-
Basic command line comfort
-
An understanding of Laravel fundamentals
If you’re missing any of these, the Laravel installation guide is your friend.
Quick Installation (Mac with Homebrew)
Using Terminal, install Homebrew, PHP, Node.js, Composer and Laravel Installer if you haven’t already.
/bin/bash -c "$(curl -fsSL https://raw.githubusercontent.com/Homebrew/install/HEAD/install.sh)"
brew install php
brew install node
brew install composer
composer global require laravel/installer
OpenAI API Key
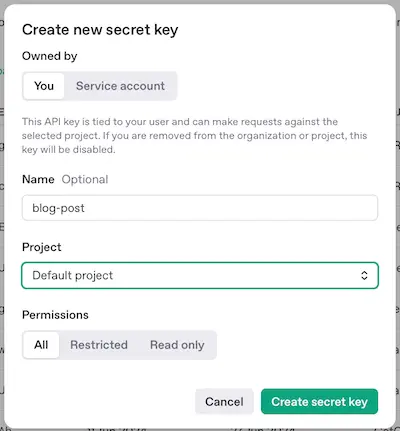
You’ll need an OpenAI API account and key from OpenAI’s platform. You can use other providers like Anthropic or Google Gemini if you prefer.
Initialize your Laravel project
Let’s build the project step by step, starting in the terminal.
Create a new Laravel project
laravel new ai-agent- Select React as the starter kit
- Choose “Laravel’s built-in authentication” for the authentication provider
- Select “PEST” for the testing framework
- Select “Yes” to “run npm install and npm run build”
Navigate to your new project
cd ai-agentInstall the Laravel OpenAI PHP client
This will provide the boilerplate code to call OpenAI:
composer require openai-php/laravelSet up the OpenAI configuration
php artisan openai:installThis creates a config/openai.php file and adds environment variables to your .env file. Laravel makes this almost too easy.
Configure your API credentials
Add your OpenAI credentials to .env:
The request timeout is set to 300 seconds because OpenAI API calls can take longer than the default 30-second HTTP timeout, especially for complex requests or when the API is under heavy load. This prevents your application from timing out during longer LLM operations.
# .env
# Your OpenAI API Key and Organization ID from your OpenAI account
OPENAI_API_KEY=sk-... # https://platform.openai.com/settings/organization/api-keys
OPENAI_ORGANIZATION=org-... # https://platform.openai.com/settings/organization/general
OPENAI_REQUEST_TIMEOUT=300 # default is 30 seconds, set to 300 seconds for longer requests
Important Security Note: Never commit your OPENAI_API_KEY to version
control! Your .env file should already be in your .gitignore. For
production environments, consider using Laravel’s encrypted environment
files or your hosting provider’s secret management system. See Laravel’s
documentation on
configuration
for best practices.
Install streaming and markdown dependencies
For that real-time, ChatGPT-like experience:
npm install @laravel/stream-react
npm install react-markdown
Fire it up
This will start the Laravel development server and open the application in your default browser.
composer run devYou now have a Laravel application with OpenAI integration running at http://localhost:8000. It does not do anything yet, but we’re getting there.
Make your first OpenAI request
Let’s start with the simplest possible implementation—making OpenAI say hello. This might seem basic, but it’s important to establish that everything is connected properly before we build the more complex stuff.
The Route: We’re defining a simple GET route at the root URL (/) that will handle our homepage requests.
The OpenAI Call: Using Laravel’s OpenAI facade, we’re making a chat completion request to the gpt-4.1-mini model with a basic conversation structure.
Message Structure: The messages array follows OpenAI’s expected format where each message has a role (like ‘user’, ‘assistant’, or ‘system’) and content (the actual text). Here we’re sending a single user message saying “Hello World!” and displaying the AI’s response directly to the browser.
Update routes/web.php:
<?php

use Illuminate\Support\Facades\Route;
use OpenAI\Laravel\Facades\OpenAI;

Route::get('/', function () {
    $result = OpenAI::chat()->create([
        'model' => 'gpt-4.1-mini',
        'messages' => [
            ['role' => 'user', 'content' => 'Hello world!'],
        ],
    ]);

    echo $result->choices[0]->message->content; // Hello! How can I assist you today?
})->name('home');
Visit http://localhost:8000 and you should see the AI’s response. Each refresh might give you a slightly different greeting—that’s the non-deterministic nature of AI working as expected.
You are now an AI Developer!! You’ve successfully made your first call to OpenAI using Laravel. Simple, but we’re about to make it much more interesting.
Let’s move on to Part 2 - Creating a Basic AI Chat App with Laravel Stream React
Building an Agentic AI Agent Series